Squishy Maker Magic Review – Is Making Your Own Squishies Really This Easy?
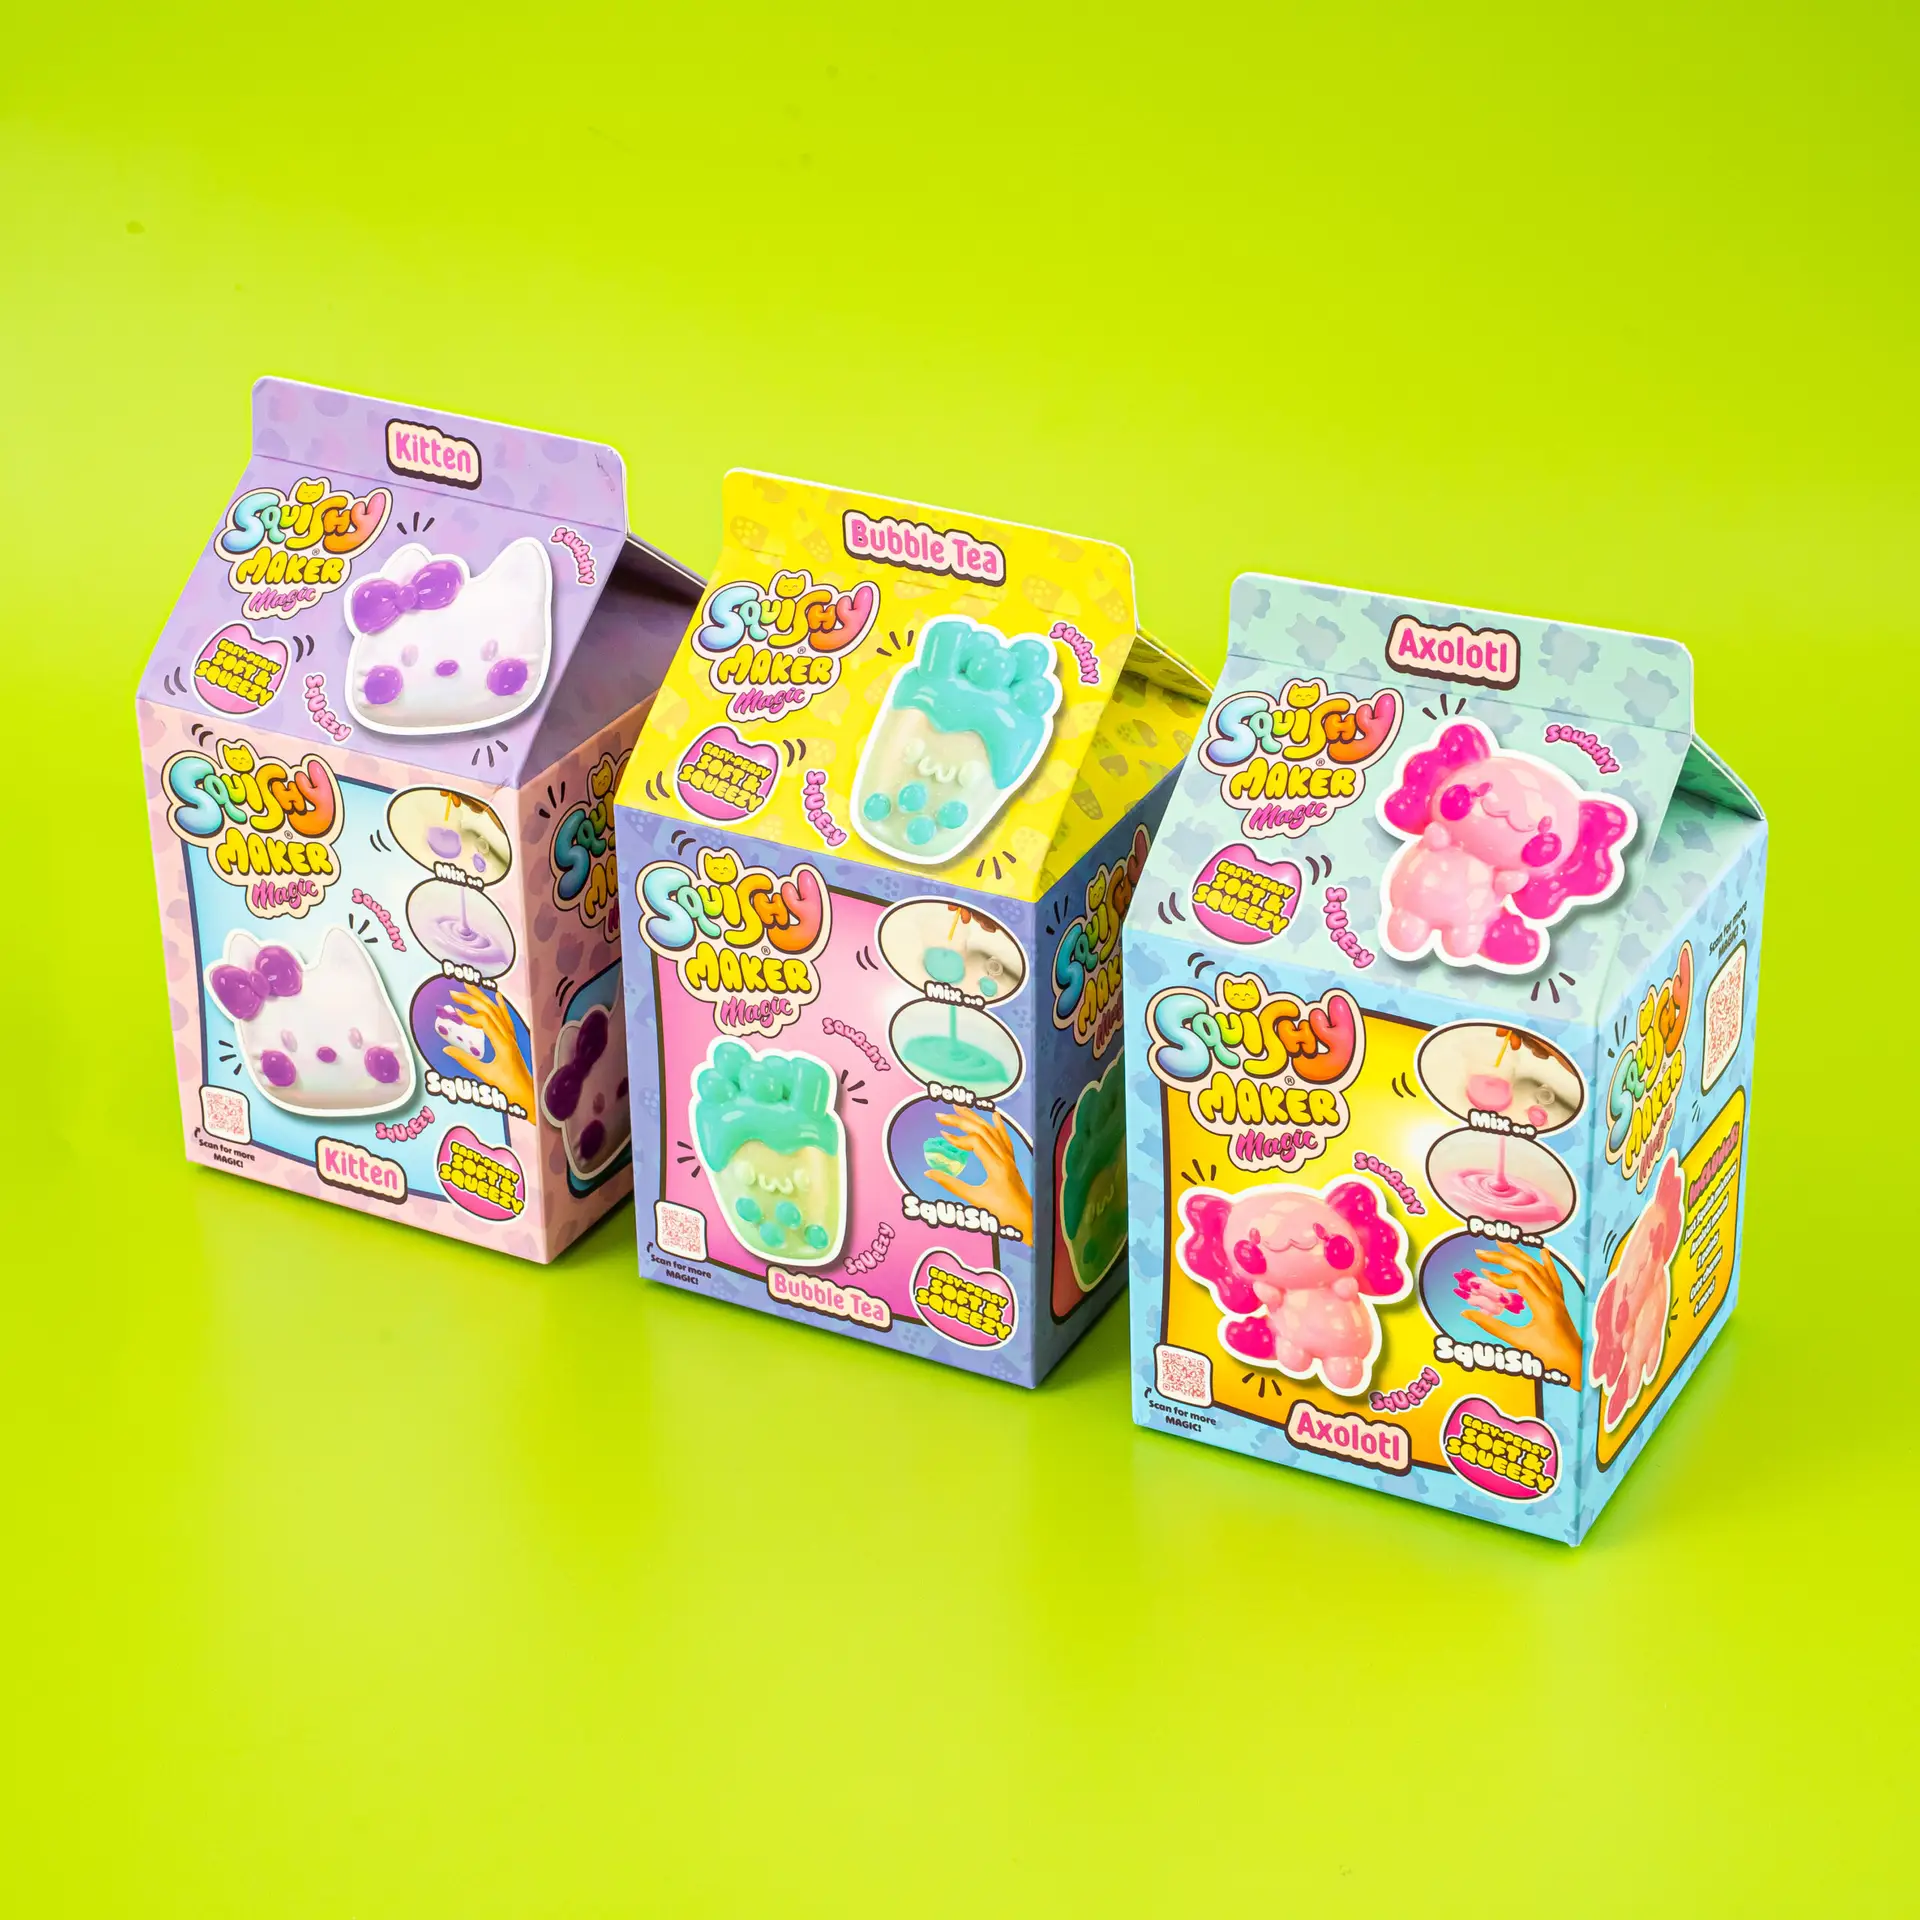
We tried Curious Universe Squishy Maker Magic in both a larger kit and the Mini Axolotl pack. The mix-and-pour process was much easier than expected, and the finished squishies are soft, stretchy and seriously satisfying.
Much easier to make than we expected, with a genuinely satisfying squishy at the end.
QUICK FACTS
Ages
5+
Price
£Varies by pack
Rating
4.5/5
Play Value
Brilliant – making them is fun and the finished squishies can be played with afterwards
Brand
Curious Universe
Type
DIY squishy-making craft kit
Review Time
5 min read
We expected Squishy Maker Magic to be one of those craft kits that looks simple on the box but turns into a complicated, messy project once you actually start. It wasn’t. We tried both one of the larger Squishy Maker Magic packs and the Mini Axolotl kit, and the whole process was surprisingly straightforward.
How do you make Squishy Maker Magic?
Each squishy starts with two sachets of mixture. Pour both into a container, mix them together, add paint if you want to change the colour, then add any beads or decorative extras you want for texture. Pour the mixture into the mould and leave it to set for around four to six hours.
There is a wait before you get the finished result, but taking the squishy out of the mould is easily the best part. Ours came out soft, extremely squishy and stretchy, and returned to their original shape after being squeezed and pulled.
How many squishies can you make?
The larger pack we tested contained enough mixture for three rounds, giving us six squishies altogether. The Mini Axolotl pack is intended to make one, although we managed to divide our mixture carefully enough to pour two.
Is it difficult?
No. That was the biggest surprise for us. There are very few steps and no complicated technique to master: pour, mix, customise, fill the mould and wait. Younger children may want some help with pouring and measuring neatly, but the actual process is simple.
What are the finished squishies like?
The finished texture is the real payoff. They are very soft, stretchy and satisfying to squeeze, but they spring back into their original shape afterwards. Because children choose the colours and can add beads and other little extras, each finished squishy can also look and feel slightly different.
Our verdict
Squishy Maker Magic turned out to be much easier and more enjoyable than we expected. The setting time means it is not an instant-result activity, but there is enough to do during the making stage and the finished squishy is something children can actually keep playing with. For children who already love squishies, sensory toys or hands-on craft kits, this combines all three particularly well.
WHAT'S INSIDE?
Two-part squishy mixture
Reusable character/shape moulds depending on the pack
Paints for customising the colour
Beads, charms or decorative texture extras depending on the kit
Mixing and decorating accessories
WHY WE LIKE IT
Genuinely easy to make
The basic process is simply pouring two sachets together, mixing and filling the mould, so it was far less fiddly than we expected.
The reveal is brilliant
Peeling the finished squishy out of the mould after it has set is easily the most satisfying part of the activity.
Great finished texture
Our finished squishies were very soft and stretchy but returned to their original shape after being squeezed.
Craft and play in one
Children get the creative activity first and then a finished sensory toy they can continue using afterwards.
THINGS TO KNOW
Allow around 4–6 hours for the squishies to set before removing them from the mould.
The amount of mixture and number of squishies varies by pack; our larger kit made six across three rounds.
The Mini Axolotl is intended as a one-squishy kit, although we managed to stretch our mixture to two pours.
KIDS VERDICT
90%
would recommend
4.5/5
average rating
Axolotl
favourite character
PARENT TIP
Make the squishies earlier in the day or before bed so the 4–6 hour setting time does not feel like such a long wait.
DID YOU KNOW?
The mixture needs around 4–6 hours to set, so this is a make-now-and-finish-later activity rather than an instant craft. Small decorative pieces mean younger children should be supervised.
KIDS SAY...
We expected this to be fiddly, but it was really easy. The finished squishies are super soft, stretchy and satisfying, and pulling them from the mould is the best bit.